Removing a tile step by step
It might seem a straightforward process to remove tiles from the surface of walls or floors, however if you don’t know what you are doing you could end up damaging the adjacent tile and making a simple home improvement job into a marathon. Whether you need to replace a broken tile, want to swap a plain tile for a patterned or coloured tile or just get rid of a tiled area in your home, make sure you follow these step by step instructions to help the process go more smoothly.
How to remove a tile:
- Gather your tools – You’ll need a grout remover, a putty knife or chisel, a hammer or rubber mallet and safety equipment including gloves, goggles and a dust mask.
- Safety first – Cover the floor with a cloth and make sure you are wearing shoes. Tile shards can be tiny and very sharp, so the cloth will avoid tiny pieces getting left on the floor. Protect yourself from getting these pieces in your mouth or eyes with your safety equipment.
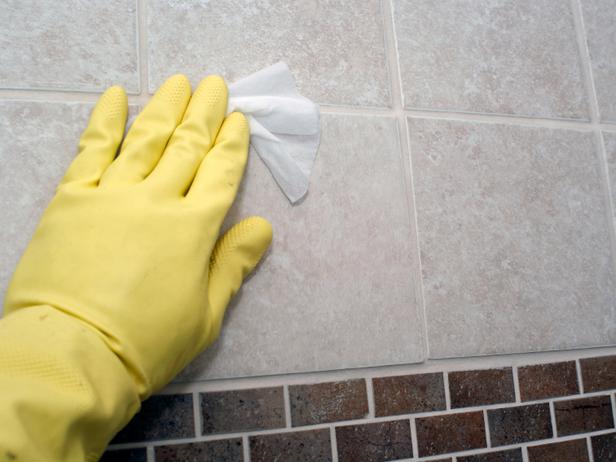
- Remove grout – Use your specially designed grout removing tool to remove the grout around
 the tile(s) you are taking out. The grout tool has a triangular shaped blade, which is the perfect shape for the job, so it’s worth investing in a proper one rather than trying to ad lib with something else. Don’t be too rough with this, and be aware of the wall or floor behind the tile in order to avoid damaging it.
- Take off the tile – If you are removing a tile from the middle of a group of tiles, it is best to remove it from the centre, as prising it off from the side is likely to damage the adjacent tiles. Use your rubber mallet and chisel to break the tile, and then begin prising it from the centre outwards one piece at a time. If the tile you are removing is at the edge of the array, then you will find it easier to get under the edge with your putty knife to prise it off. Focus on one small section at time and tap the handle of your putty knife with your rubber mallet to force it under the tile surface. Be mindful of the wall behind the tile, keeping the knife at an angle to stop the wall becoming damaged.
- Removing more tiles – If you are removing a whole wall full of tiles, it is best to remove the grout from a square section of four tiles to start with, and work on getting those off first. As you continue with the project, you will find grout removal and the prising of the tiles happens more easily, as you are freeing up space to get a better angle on the job.


Recent Comments