
DIY tiling: Top Tips from the Experts
If you have never had a go at DIY tiling before, it can seem a pretty daunting task. Working out how many you need is just the start of the stress. Getting your technique right and your finish perfect can make the difference between creating a beautiful room and improving your home or being left with a mess, so make sure you have done your homework before you launch into your tiling project. Take the role of organiser and have everything well planned out.

Here are some top tips from industry experts to help your next tiling project go to plan.
- Buy more than you need – No matter how carefully you plan your tiling project, somewhere along the line you will need to cut your tiles to fit the room. And no matter how carefully you cut your tiles, there will inevitably be breakages and mistakes to account for. Don’t let this spoil your project – buy more than you need in the first place and the worst that will happen is you have a few spare tiles that can be kept for future use.
- Prepare the surfaces – The surface you are tiling needs to be completely clean and dry before you begin anything. Failure to do this can cause the tile adhesive to fail and can lead to loose or dislodged tiles later on.
- Plan your tiling – Measure it out and find out what surplus you will have at the other end. If it is a quarter of a tile or less, then rethink your strategy. Small fragments of tile are difficult to cut accurately and can make things look messy, so go for a large segment of tile at both ends of the wall in preference to a tiny segment at one end.
- Figure out the pattern – If you are using a mix of plain and patterned tiles, work out where your patterned ones will need to go in order to spread them evenly. Try to avoid landing on a patterned tile at the edges, as this will mean you need to cut through the design which is not a pleasant finish.
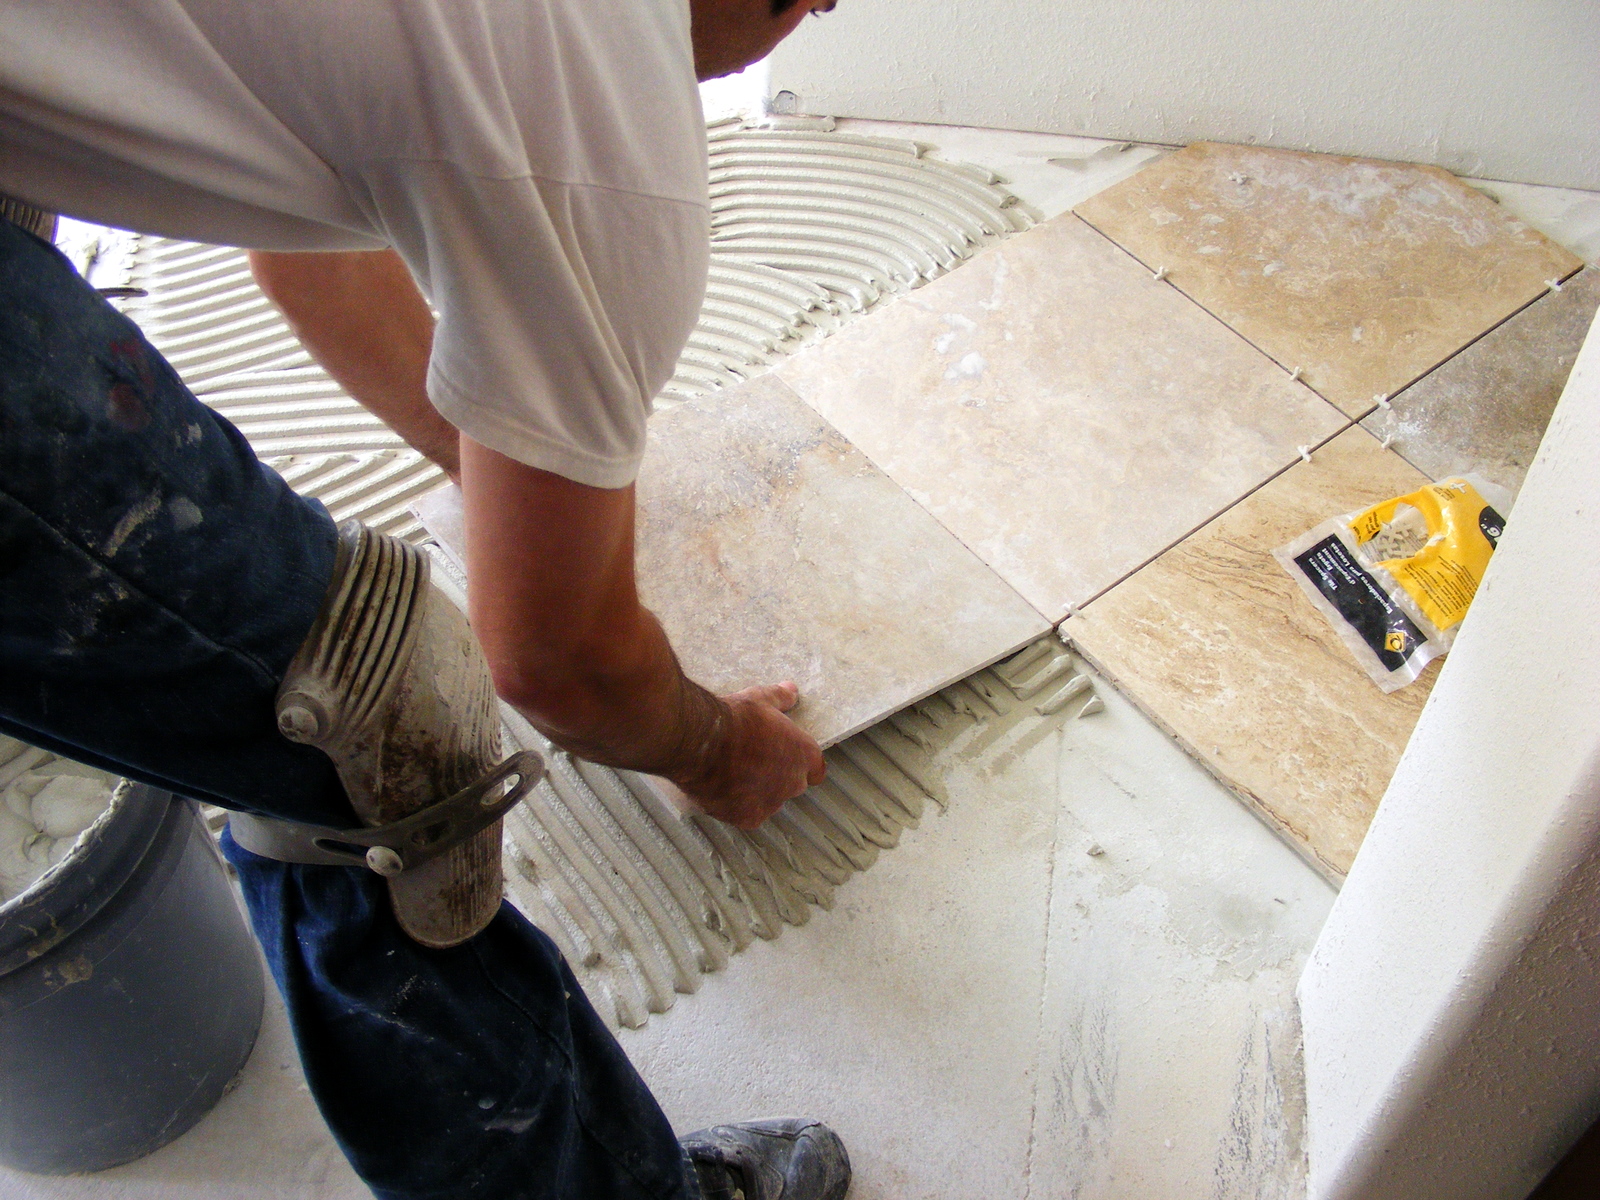
- One area at a time – Following the manufacturer’s instructions, spread your tile adhesive in one small area at a time (around 1m is ideal), otherwise you risk it setting before you have laid your tile on it.
- Use spacers and spirit levels – Keep checking your tiles are level and use a spacer to ensure the space between each tile is uniform.
- Stay safe – When cutting tiles you should always use protective gloves and goggles to keep yourself safe from harm.


Recent Comments