
How to Repair Bathroom Floor Tiles
I am going to give a basic introduction to how to fix broken bathroom floor tiles such as ceramic or porcelain tiles. You may need to replace a broken tile because you do not have the budget yet to replace the whole floor, or you are still planning your new bathroom but need to keep the old one safe for young children or elderly relatives. Or you may be thinking of moving house soon and don’t want the expense of completely re-tiling the floor. But remember that replacing floor tile’s is a simple but delicate job. If you are not careful you might do more damage than good.
Step 1 First you should have the replacement tiles in hand. If you have a common tile style you should be able to find new ceramic or porcelain tiles at any home improvement store. Also you need to have the replacement grout before you get the job started. If you are going to replace tiles that have to be cut at any particular angle you might need a wet saw which you can rent at any tool rental place.
Step 2 Second clear out anything in the bathroom that might be in the way. You should have as much room as possible to work comfortably. Sweep any dust or dirt that might be on the floor out of the bathroom.
Step 3 Third you will need a flat chisel and a hammer. You will use this to break apart the tile you will replace. If you tap the chisel firmly towards the broken tile it will start to come lose. Keep going around the entire tile. Portions of the tile will break apart but that is fine just remove them until the entire tile has been removed.
Step 4 Forth you will have to clean any small portions of tile and grout dust with a small brush or broom. It is very important all the small portions of tile and dust are all removed so the new tile will adhere to the floor adequately.
Step 5 Fifth set the new tile in the same place where the old tile was. If it does not fit flush with the other tiles you might have to place a small spacer under the tile to raise it up a little. If the tile is higher that the old tiles you might have to find another tile that fits flush. After you find the tile that fits flush get ready to mix the grout.
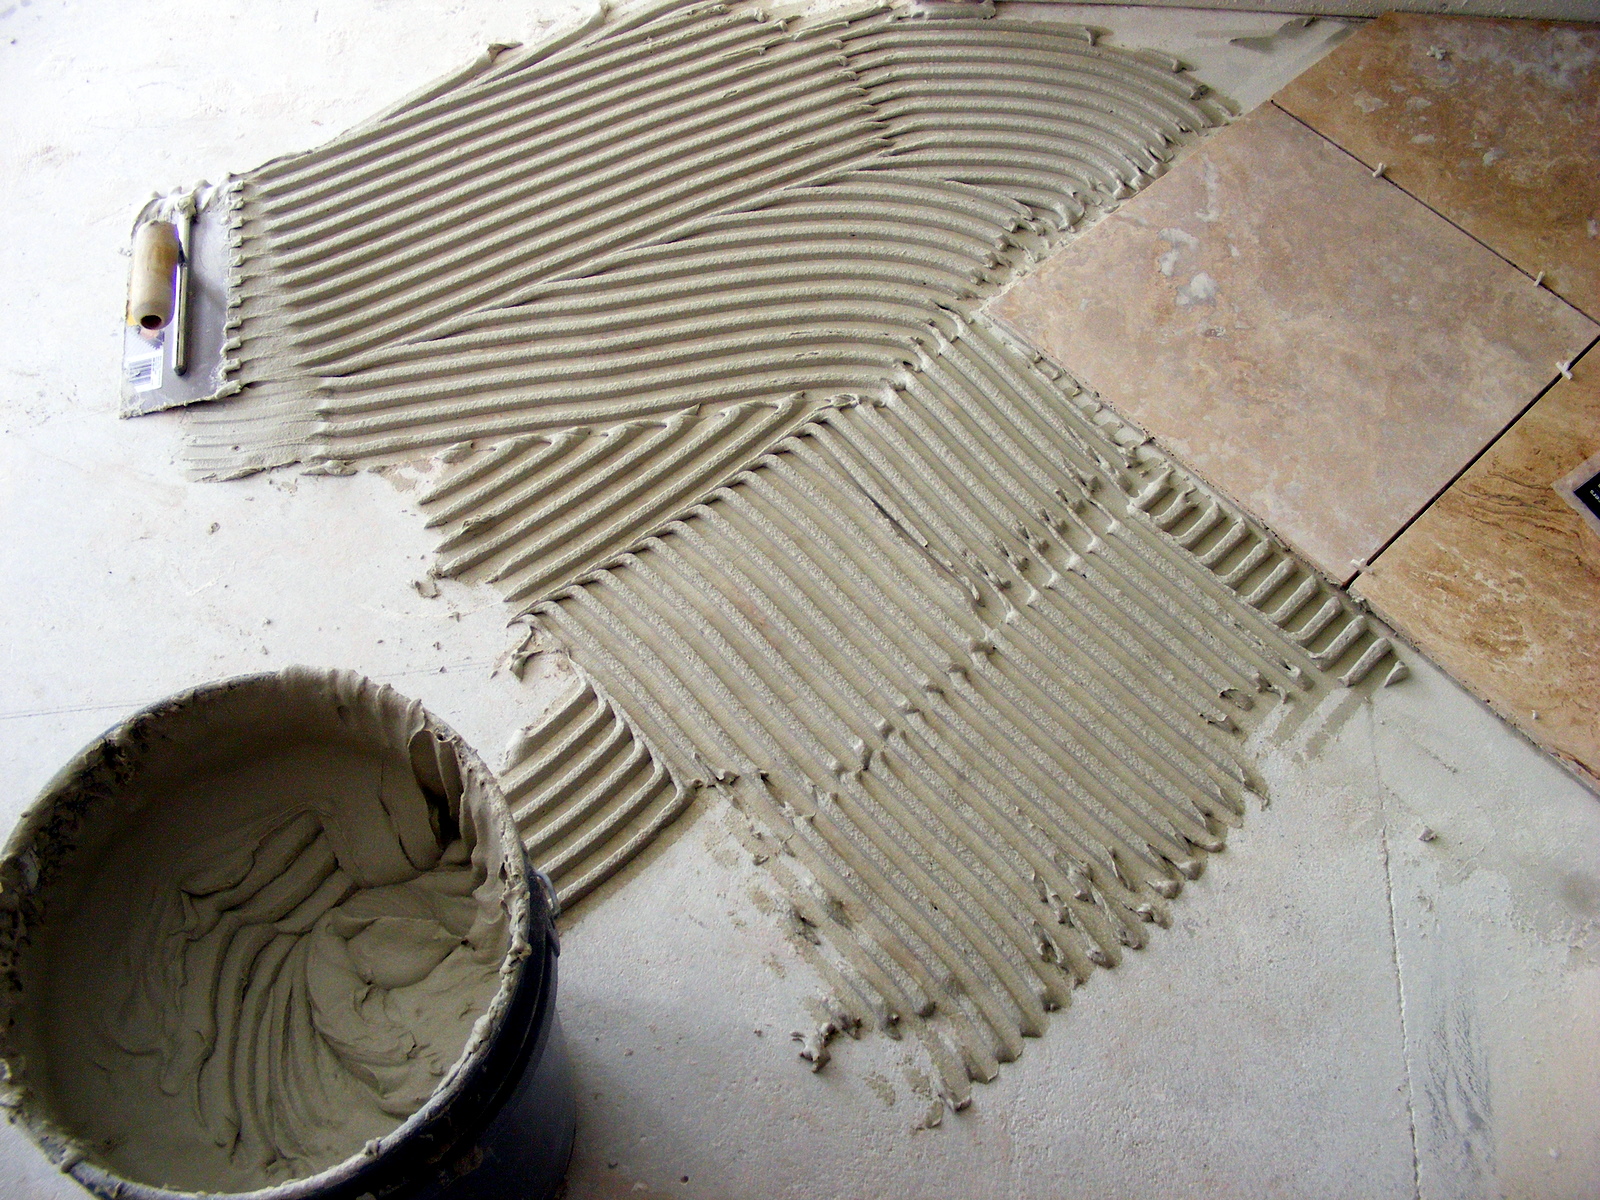
Step 6 Sixth get the bag of grout and fallow the instructions on the bag. After you have made the grout mix according to the instructions put some on the spot where the new tile will be set. Then set the new tile over the grout in the spot where the old tile was located. Square off the tile and put grout over the tile and into the empty areas until every thing looks flush
Step 7 Seventh let the tile set for the time indicated on the grout instructions. After the tile is set you can clean any of the residual grout that is on the face of the tile with a mop and some soapy water.


1 Response
[…] loose tiles (see this advice on how to repair tiles) […]